
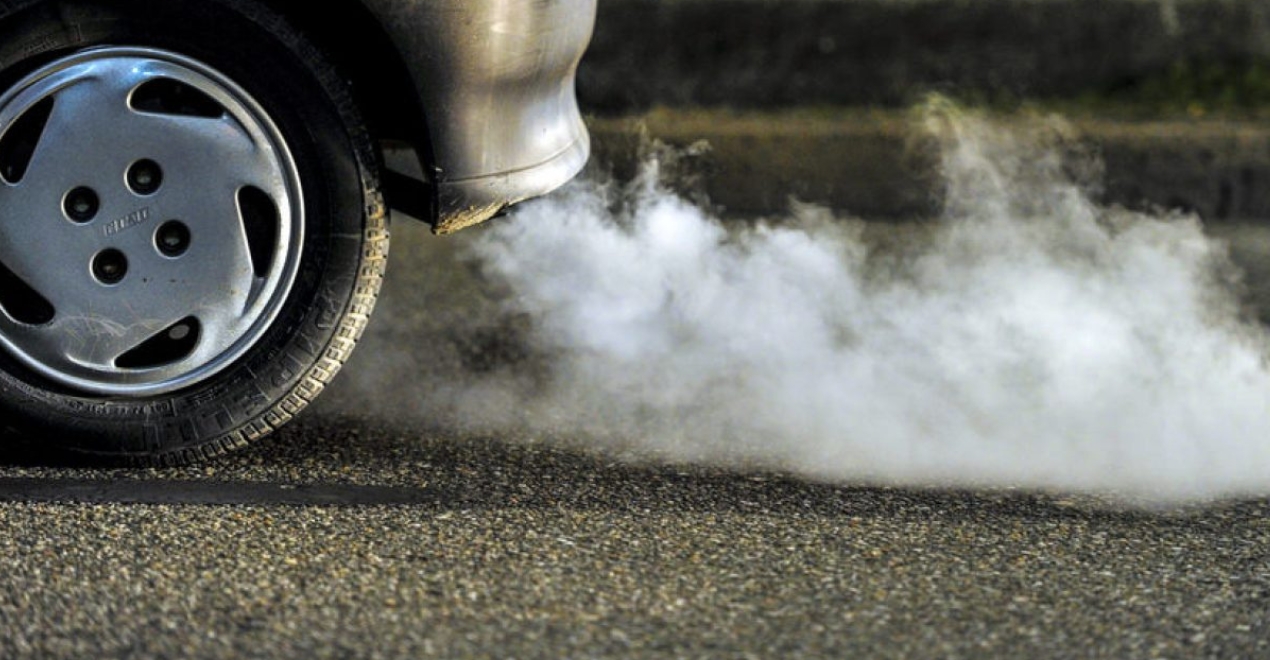
Dealing with a car that blows white smoke can be a concerning and frustrating experience for any vehicle owner. White smoke coming from the exhaust is typically an indication of a problem that needs immediate attention. In this comprehensive guide, we will explore the common causes of white smoke, how to diagnose the issue, and the steps to fix it, by following these steps, you can ensure your car runs smoothly and efficiently.
Table of Contents
ToggleUnderstanding the Causes of White Smoke
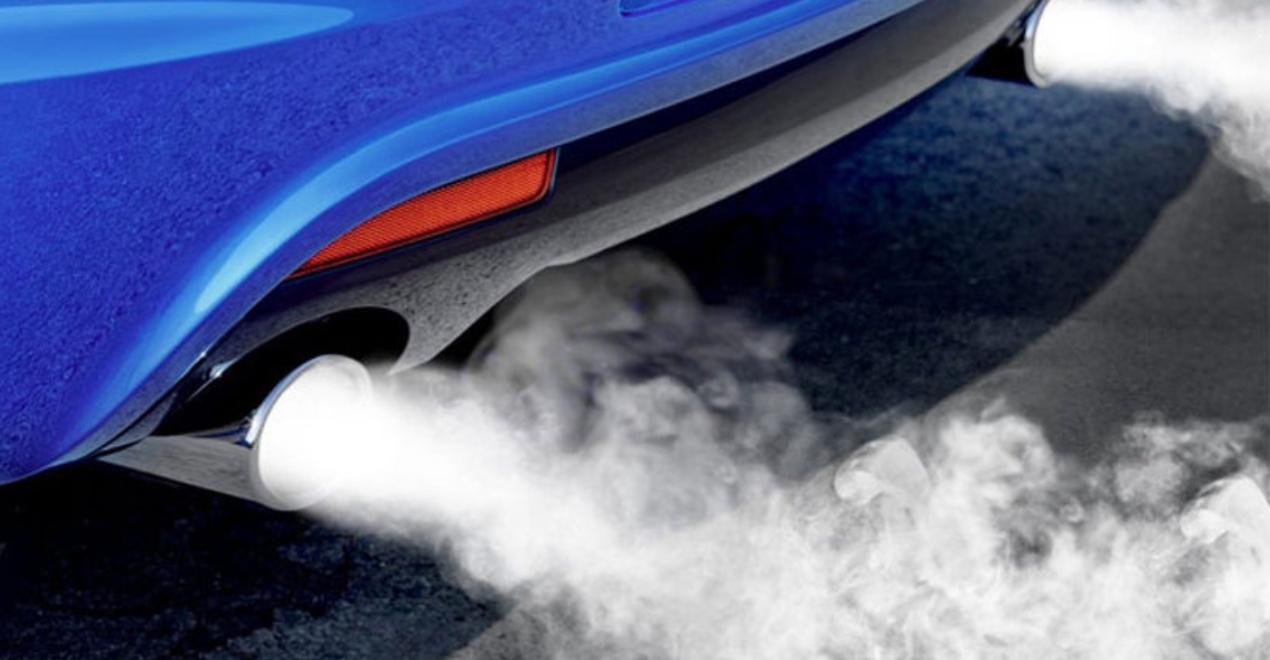
White smoke from the exhaust is often a sign of a coolant leak into the engine’s combustion chamber. This can happen for several reasons, each varying in severity. The most common causes include:
- Blown Head Gasket: The head gasket seals the engine block and the cylinder head, preventing coolant and oil from mixing. A blown head gasket can allow coolant to enter the combustion chamber, resulting in white smoke.
- Cracked Engine Block: A crack in the engine block can also cause coolant to leak into the combustion chamber. This is a severe issue that may require a complete engine rebuild or replacement.
- Faulty Cylinder Head: Similar to a cracked engine block, a damaged cylinder head can lead to coolant leakage into the combustion chamber.
- Coolant Issues: Overfilling the coolant reservoir or using the wrong type of coolant can also cause white smoke.
- Condensation: In some cases, especially in colder climates, white smoke might be due to condensation in the exhaust system. This is generally harmless and should dissipate as the engine warms up.
Understanding the root cause of white smoke is crucial for determining the appropriate repair strategy. Ignoring the issue can lead to more severe engine damage and costly repairs.
Diagnosing the Problem
Diagnosing the source of white smoke involves a combination of visual inspection, engine testing, and sometimes professional diagnostics. Here are the steps you can take:
- Visual Inspection: Start by inspecting the engine bay for any visible signs of coolant leaks. Check the radiator, hoses, and the area around the head gasket. Look for any white residue, which indicates that the coolant has evaporated due to high temperatures.
- Check Coolant Levels: Ensure the coolant level is within the recommended range. If it’s consistently low, it might indicate a leak.
- Examine the Oil: Check the engine oil for any signs of coolant contamination. If the oil appears milky or frothy, it’s a clear sign that coolant is mixing with the oil, likely due to a blown head gasket or cracked engine block.
- Perform a Compression Test: A compression test can help identify issues with the head gasket, cylinder head, or piston rings. Low compression in one or more cylinders often indicates a problem.
- Use a Leak-Down Tester: This tool can pinpoint the exact location of a leak within the engine. By pressurizing each cylinder and observing the leakage, you can determine if the head gasket, cylinder head, or block is compromised.
- Professional Diagnostic Tools: If the above steps do not yield conclusive results, consider taking your car to a professional mechanic. They can use advanced diagnostic tools, such as a borescope or dye testing, to identify internal leaks and cracks.
Proper diagnosis is essential to avoid unnecessary repairs and expenses. Once you’ve identified the cause, you can proceed with the appropriate repair.
Repairing a Blown Head Gasket
A blown head gasket is one of the most common causes of white smoke. Repairing it requires some mechanical skill and tools. Here’s how you can replace a blown head gasket:
- Preparation: Gather all necessary tools, including a torque wrench, socket set, gasket scraper, and a new head gasket. Ensure you have a clean workspace and enough time to complete the repair.
- Drain Fluids: Start by draining the coolant and oil from the engine. This prevents any spillage and contamination during the repair.
- Remove Engine Components: Remove the components obstructing access to the cylinder head. This usually includes the intake manifold, exhaust manifold, and timing components. Label and organize the bolts and parts for easy reassembly.
- Remove the Cylinder Head: Carefully remove the cylinder head bolts in the reverse order of the torque sequence. Lift the cylinder head off the engine block and place it on a clean surface.
- Inspect the Cylinder Head and Block: Check both the cylinder head and engine block for any warping or cracks. If you notice any damage, have them machined or replaced as necessary.
- Clean the Surfaces: Use a gasket scraper to remove the old gasket material from the cylinder head and engine block surfaces. Ensure the surfaces are clean and smooth.
- Install the New Gasket: Place the new head gasket onto the engine block, aligning it with the dowel pins. Carefully lower the cylinder head onto the gasket.
- Torque the Head Bolts: Follow the manufacturer’s specifications for the torque sequence and values. Gradually tighten the head bolts in the correct order to ensure an even seal.
- Reassemble the Engine: Reinstall the removed components in the reverse order. Ensure all connections are secure and properly torqued.
- Refill Fluids: Refill the engine with fresh coolant and oil. Bleed the cooling system to remove any air pockets.
- Test the Engine: Start the engine and check for any signs of leaks or white smoke. Monitor the temperature gauge and oil pressure to ensure everything is functioning correctly.
Repairing a blown head gasket can be a time-consuming process, but it’s essential for resolving white smoke issues and preventing further engine damage.
Addressing Cracked Engine Blocks and Cylinder Heads
Cracked engine blocks and cylinder heads are more severe issues that often require professional intervention. Here’s what you can do if you suspect a crack:
- Professional Inspection: If you suspect a crack in the engine block or cylinder head, take your car to a professional mechanic. They can perform a detailed inspection using specialized tools, such as a borescope or pressure testing.
- Repair or Replace: Depending on the severity of the crack, the mechanic may recommend either repairing or replacing the damaged part. Welding can sometimes fix small cracks in cast iron or aluminum parts, but larger or more complex cracks often necessitate replacement.
- Engine Replacement: In cases where the damage is extensive, replacing the entire engine might be the most cost-effective solution. While this is a significant investment, it ensures long-term reliability and performance.
- Preventive Measures: To prevent future cracks, ensure your engine operates within the recommended temperature range. Regularly check coolant levels, maintain the cooling system, and avoid extreme driving conditions that can cause overheating.
Cracked engine blocks and cylinder heads are serious issues, but with the right approach, you can restore your engine’s integrity and performance.
Coolant System Maintenance
Maintaining your car’s coolant system is crucial for preventing white smoke and ensuring optimal engine performance. Here are some tips for proper coolant system maintenance:
- Regular Coolant Checks: Check the coolant level regularly and top it off as needed. Use the recommended type of coolant for your vehicle to prevent corrosion and overheating.
- Inspect Hoses and Connections: Periodically inspect coolant hoses and connections for any signs of wear, cracks, or leaks. Replace damaged hoses promptly to prevent coolant loss.
- Flush the Coolant System: Perform a coolant flush every two to three years or as recommended by your vehicle’s manufacturer. This removes contaminants and old coolant, ensuring the system operates efficiently.
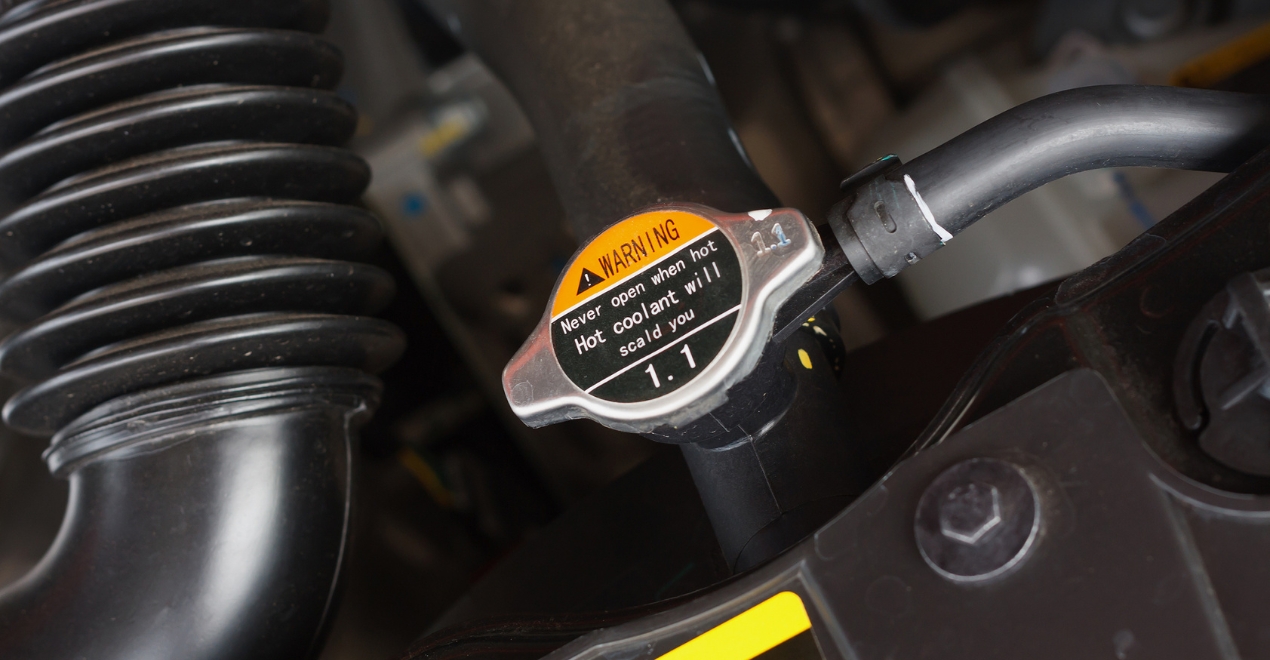
- Check the Radiator Cap: A faulty radiator cap can cause coolant loss and overheating. Inspect the cap for any damage and replace it if necessary.
- Monitor Temperature Gauges: Keep an eye on the engine temperature gauge while driving. If the temperature rises above normal, pull over and investigate the cause to prevent overheating.
- Use a Coolant Additive: Consider using a coolant additive that improves the cooling system’s efficiency and protects against corrosion.
- Address Leaks Promptly: If you notice any coolant leaks, address them immediately. Ignoring leaks can lead to significant engine damage and costly repairs.
By maintaining your coolant system, you can prevent issues that cause white smoke and ensure your engine runs smoothly.
Conclusion
White smoke from the exhaust is a clear indicator of an underlying problem that requires immediate attention. By understanding the common causes, diagnosing the issue accurately, and following the appropriate repair steps, you can resolve the problem effectively. Whether it’s a blown head gasket, a cracked engine block, or coolant system issues, taking the right measures will ensure your car runs efficiently and reliably.
Regular maintenance and prompt repairs are essential for preventing white smoke and maintaining your vehicle’s performance. By following this comprehensive guide, you can address the issue of white smoke and keep your car in optimal condition for years to come.
