
Coolant leaks can spell trouble for your vehicle if not addressed promptly. A leaking cooling system can lead to engine overheating, which may cause severe damage and costly repairs. Fortunately, fixing a coolant leak can be a straightforward task if approached methodically. In this article, we’ll guide you through five easy steps to fix a coolant leak, ensuring your vehicle runs smoothly and efficiently. Need more help? Call Crossroads Helpline for expert advice on fixing your coolant leak and other automotive issues!
Table of Contents
ToggleFix a Coolant Leak in 5 Easy Steps
Step 1: Identify the Source of the Leak
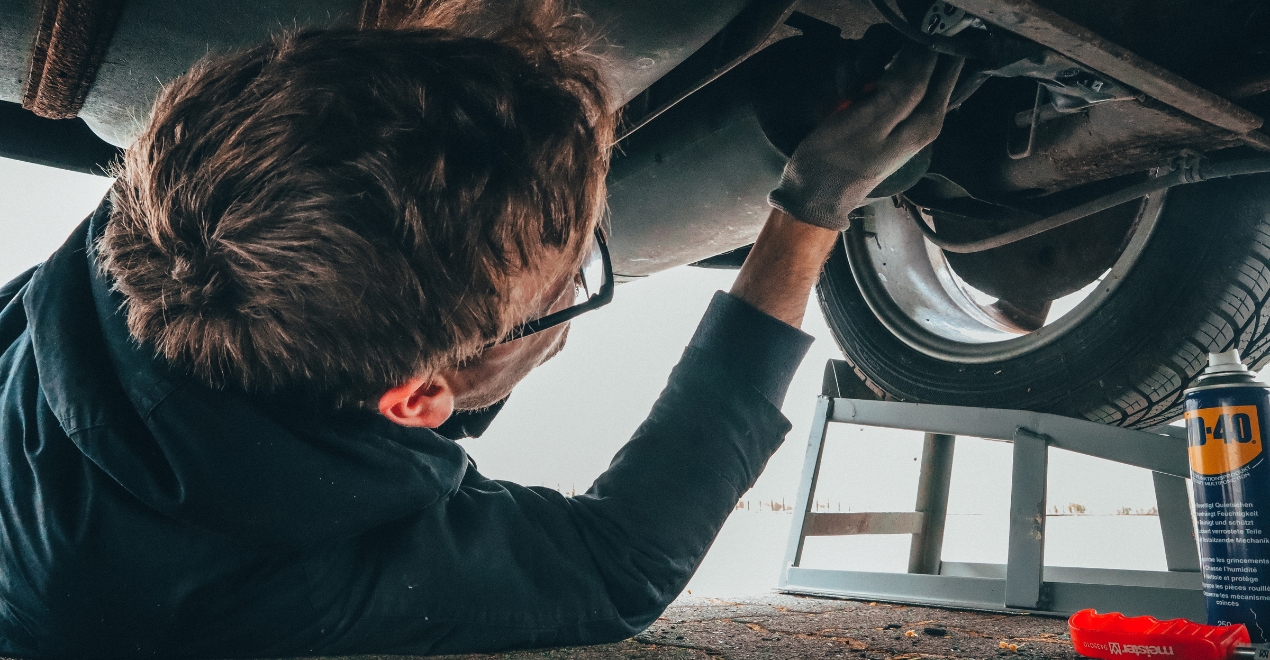
Identifying the source of the coolant leak is crucial as it determines the repair method you’ll use. Begin by parking your vehicle on a level surface and allowing the engine to cool completely. Once cooled, open the hood and inspect the radiator, hoses, and engine for visible signs of leakage. Common leak points include the radiator, radiator hoses, water pump, and engine gaskets.
Look for puddles of coolant under the vehicle or around these components. Coolant is usually bright green, yellow, or orange, making it relatively easy to spot. If you can’t find the leak visually, consider using a UV dye and a black light. Add the dye to your coolant system, run the engine, and then inspect with the black light to pinpoint the leak location.
Check for cracks, holes, or loose connections in the radiator and hoses. Pay special attention to the hose clamps and joints, as these are frequent culprits for leaks. If the leak source is still elusive, a pressure test might be necessary. A pressure tester can help you simulate the conditions under which the leak occurs, making it easier to locate the problematic area.
Documenting the exact location and nature of the leak will help you in the subsequent steps. Whether it’s a small hole in a hose or a more significant issue like a cracked radiator, knowing the precise problem allows for accurate repairs.
Step 2: Gather the Necessary Tools and Parts
Once you’ve identified the leak source, the next step is to gather the necessary tools and parts for the repair. The tools you need will vary depending on the leak’s location and severity, but common items include a wrench set, screwdrivers, pliers, a drain pan, and possibly a radiator pressure tester.
For parts, you’ll need to match them to the specific component that’s leaking. If it’s a hose, you’ll need a replacement hose that matches the make and model of your vehicle. For a radiator leak, you may require a radiator repair kit, which typically includes epoxy or a special type of sealant designed to fix small cracks and holes.
In some cases, you might need replacement clamps if the existing ones are worn or damaged. It’s also a good idea to have extra coolant on hand to replenish the system once the repair is complete. Make sure to use the correct type of coolant specified for your vehicle, as using the wrong type can lead to further problems.
Safety is paramount when working on your vehicle. Wear protective gloves and safety glasses to prevent injury from sharp components or chemical exposure. Having a well-lit workspace will also make the repair process smoother and safer.
Before you begin the repair, review your vehicle’s service manual. The manual often provides valuable information on the cooling system’s layout, recommended procedures, and specific torque settings for bolts and clamps. Being prepared with the right tools, parts, and knowledge will streamline the repair process and enhance your confidence.
Step 3: Drain the Coolant

Draining the coolant is an essential step before repairing any part of the cooling system. Begin by ensuring the engine is completely cool to avoid burns or other injuries. Position a drain pan beneath the radiator’s drain valve or petcock, typically located at the bottom of the radiator.
Slowly open the drain valve and allow the coolant to flow into the pan. If your vehicle doesn’t have a drain valve, you might need to remove the lower radiator hose to drain the coolant. Be prepared for a significant amount of coolant to come out quickly, so ensure your drain pan is large enough to handle the volume.
As the coolant drains, take this opportunity to inspect its condition. Clean, brightly colored coolant indicates a well-maintained system, while discolored or rusty coolant suggests potential internal issues. Sediments or debris in the coolant might point to corrosion or a compromised system that requires further attention.
Once the coolant has drained completely, close the drain valve or reattach the lower radiator hose. Properly dispose of the old coolant according to local regulations, as it is toxic and harmful to the environment. Many auto parts stores and recycling centers accept used coolants for safe disposal.
With the coolant drained, you now have a clear and safe workspace to address the leak. Whether you’re replacing a hose, repairing a radiator crack, or tightening clamps, ensuring the system is empty prevents spillage and allows for a more efficient repair process.
Step 4: Repair or Replace the Damaged Component
With the coolant drained and the leak source identified, it’s time to repair or replace the damaged component. The approach you take will depend on the type and location of the leak. Here are some common scenarios:
Replacing a Radiator Hose
If the leak is in a radiator hose, start by loosening the clamps on both ends of the hose using a screwdriver or wrench. Carefully slide the hose off the radiator and engine fittings. Inspect the hose for cracks, splits, or bulges that could have caused the leak. Replace the hose with a new one, ensuring it matches the specifications for your vehicle. Slide the new hose onto the fittings and secure it with new clamps, tightening them adequately to prevent future leaks.
Repairing a Radiator
For a small crack or hole in the radiator, a radiator repair kit can be effective. These kits typically include a special epoxy or sealant. Clean the damaged area thoroughly, removing any dirt or debris. Apply the epoxy according to the kit instructions, ensuring it covers the crack or hole completely. Allow the epoxy to cure for the recommended time before proceeding. For larger or more complex damage, consider replacing the radiator entirely, as this ensures a more permanent and reliable fix.
Tightening Clamps and Connections
Leaks can also occur due to loose or damaged clamps. Inspect all hose connections and clamps, tightening any that appear loose. If a clamp is corroded or broken, replace it with a new one. Ensuring all connections are secure will help maintain the integrity of the cooling system and prevent future leaks.
Addressing Water Pump or Engine Gasket Leaks
Leaks from the water pump or engine gaskets are more complex and may require professional assistance. If you suspect a leak from these components, it might be best to consult a mechanic, as repairing or replacing these parts involves more intricate work and precise reassembly.
By carefully addressing the specific component responsible for the leak, you can restore your cooling system’s functionality and prevent further issues.
Step 5: Refill and Bleed the Cooling System
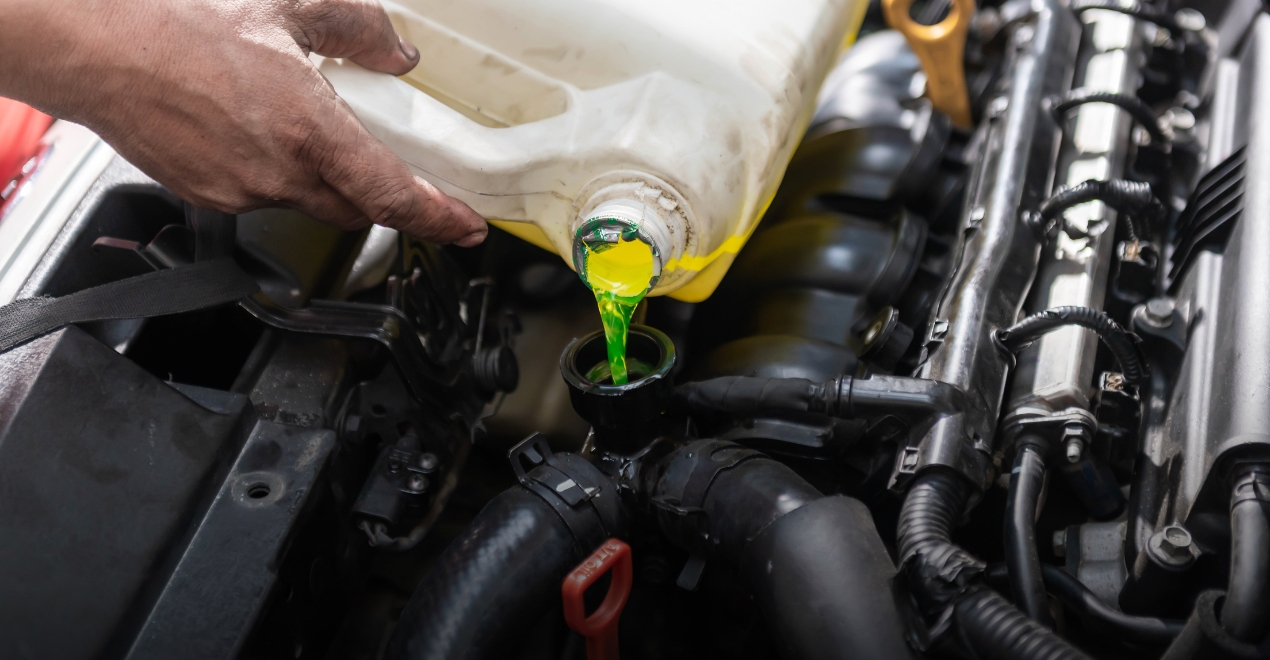
After completing the repair or replacement, it’s crucial to refill and bleed the cooling system properly. Begin by mixing the appropriate type and ratio of coolant and distilled water, as specified by your vehicle’s manufacturer. This ensures optimal cooling performance and prevents corrosion.
Slowly pour the coolant mixture into the radiator or coolant reservoir, allowing it to flow through the system. Keep an eye on the level, and continue adding until it reaches the recommended fill line. Start the engine and let it run for a few minutes, then turn it off and recheck the coolant level, topping off if necessary.
Bleeding the cooling system is essential to remove air pockets that can cause overheating and reduce cooling efficiency. Many vehicles have a bleed valve located near the thermostat housing or on the upper radiator hose. Open the valve and allow any trapped air to escape, then close it once a steady stream of coolant flows out. If your vehicle doesn’t have a bleed valve, you can achieve a similar effect by running the engine with the radiator cap off, but be cautious of hot coolant.
Monitor the coolant level and temperature gauge over the next few days to ensure the system is functioning correctly and there are no remaining leaks. Checking for any signs of overheating or coolant loss will help catch any residual issues early.
Properly refilling and bleeding the cooling system is the final step to ensure your vehicle operates at optimal temperatures, preventing future problems and extending the lifespan of your engine.
Conclusion
Fixing a coolant leak is a manageable task that can save you from costly repairs and keep your vehicle running smoothly. By following these five easy steps—identifying the leak, gathering tools and parts, draining the coolant, repairing or replacing the damaged component, and refilling and bleeding the system—you can effectively address coolant leaks and maintain your vehicle’s health. Regular maintenance and prompt attention to any cooling system issues will ensure reliable performance and longevity for your car. If you run into any trouble while fixing your coolant leak, don’t hesitate to reach out to Crossroads Helpline for professional guidance.
