
A brake fluid leak is a critical issue that can compromise the safety of your vehicle. Brake fluid is essential for the proper operation of your braking system, and any loss of fluid can lead to brake failure. Detecting and addressing brake fluid leaks promptly is crucial for maintaining your vehicle’s safety and performance. In this detailed guide, we will explore how to find a brake fluid leak, the signs to watch for, and the steps you can take to diagnose and fix the problem. Ready to tackle that brake fluid leak? Don’t let it linger, ensure your safety on the road. If you need expert guidance or assistance, contact Crossroads Helpline today.
Table of Contents
ToggleUnderstanding the Importance of Brake Fluid
Brake fluid is a hydraulic fluid that transmits force from the brake pedal to the brake calipers or wheel cylinders, enabling your vehicle to stop effectively. It operates under high pressure and must be able to withstand extreme temperatures without boiling or freezing. Brake fluid also has anti-corrosive properties to protect the braking system’s components from rust and corrosion.
Over time, brake fluid can become contaminated with moisture and other impurities, which can reduce its effectiveness and lead to brake system problems. A leak in the brake fluid system not only reduces the amount of available fluid but can also introduce air into the system, causing a spongy brake pedal and decreased braking performance. Recognizing and addressing a brake fluid leak is essential to ensure your vehicle remains safe to drive.
Signs of a Brake Fluid Leak
The first step in finding a brake fluid leak is recognizing the signs that indicate a potential problem. Here are some common symptoms to watch for:
Low Brake Fluid Level:
One of the most obvious signs of a brake fluid leak is a low fluid level in the brake fluid reservoir. Regularly check the reservoir under the hood and ensure the fluid level is between the “MIN” and “MAX” marks. If the fluid level is consistently dropping, it indicates a potential leak.
Spongy or Soft Brake Pedal:
A spongy or soft brake pedal is another common sign of a brake fluid leak. If you notice that the brake pedal feels less firm than usual or sinks to the floor when pressed, it could indicate that air has entered the brake lines due to a leak.
Brake Warning Light:
Many modern vehicles are equipped with a brake warning light on the dashboard. If this light comes on, it could be due to low brake fluid levels caused by a leak. However, the brake warning light can also indicate other issues, so it’s essential to investigate further.
Visible Fluid Leaks:
Inspect the area around your wheels, brake lines, and under the vehicle for any signs of fluid leaks. Brake fluid is usually clear to yellowish and has a distinctive oily feel. If you notice any puddles or wet spots, it’s crucial to determine if they are from brake fluid.
Decreased Braking Performance:
If your vehicle takes longer to stop or you need to press the brake pedal harder to achieve the same stopping power, it could indicate a brake fluid leak. Reduced braking performance is a serious safety concern and should be addressed immediately.
Locating the Source of the Leak

Once you recognize the signs of a brake fluid leak, the next step is to locate the source. This process involves a thorough inspection of the braking system components. Here’s how to do it:
Step 1: Safety Precautions
Before you begin, ensure your vehicle is parked on a level surface, the engine is off, and the parking brake is engaged. Use wheel chocks to prevent the vehicle from moving. Wear gloves and safety glasses to protect yourself from brake fluid, which can be harmful to skin and eyes.
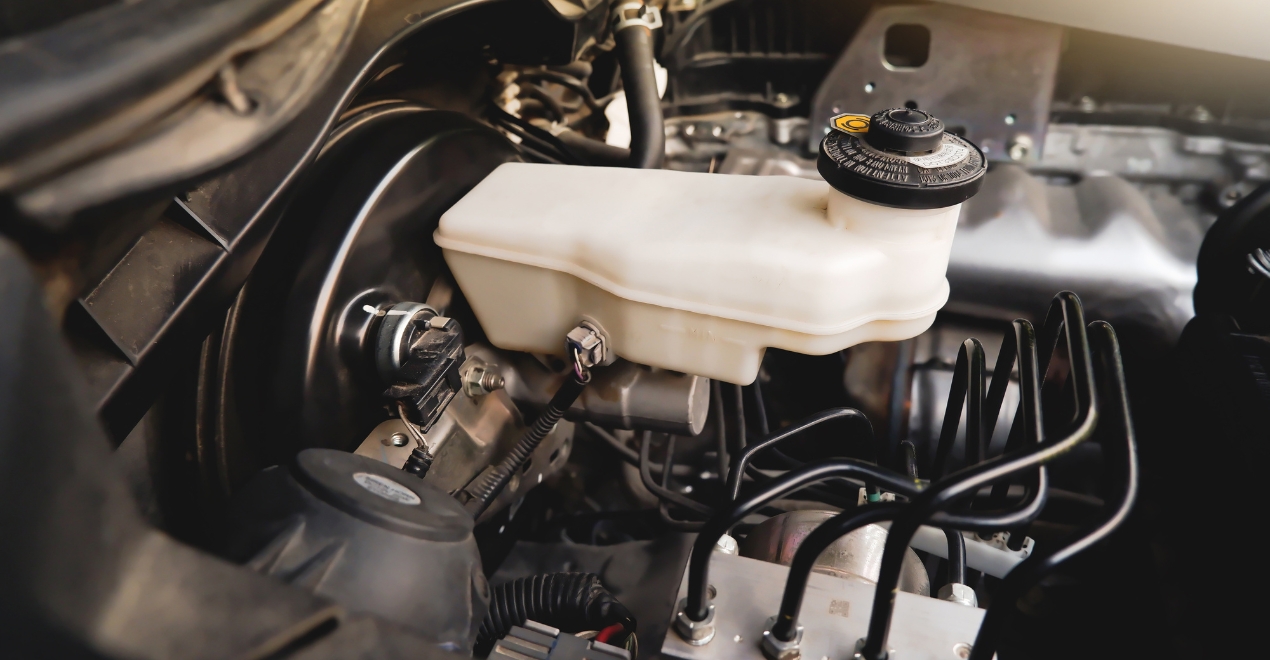
Step 2: Inspect the Brake Fluid Reservoir
Start by inspecting the brake fluid reservoir under the hood. Look for any cracks or damage to the reservoir itself and check the cap for a secure fit. Ensure there are no leaks around the reservoir and that the fluid level is within the recommended range.
Step 3: Check Brake Lines and Hoses
Follow the brake lines from the master cylinder to each wheel. Look for any signs of damage, corrosion, or leaks along the lines. Pay special attention to the connections and joints where leaks are more likely to occur. Check the flexible brake hoses for cracks, bulges, or leaks.
Step 4: Inspect the Brake Calipers and Wheel Cylinders
Remove the wheels to access the brake calipers (for disc brakes) or wheel cylinders (for drum brakes). Look for any signs of fluid leakage around these components. Brake calipers and wheel cylinders can develop leaks due to worn seals or damage.
Step 5: Examine the Master Cylinder
The master cylinder is a critical component of the braking system. Inspect it for any signs of fluid leakage, particularly where it connects to the brake lines. Leaks from the master cylinder can be challenging to detect but are crucial to identify.
Step 6: Look Under the Vehicle
Check under the vehicle for any signs of brake fluid leaks. Look for wet spots or puddles on the ground where the vehicle has been parked. Trace any leaks back to their source to determine if they originate from the brake lines, hoses, or other components.
Diagnosing and Fixing the Leak
Once you have located the source of the brake fluid leak, it’s time to diagnose the cause and take appropriate action to fix it. Depending on the location and severity of the leak, you may be able to address the issue yourself, or you may need professional assistance.
Step 1: Repairing or Replacing Damaged Components
If you have identified a damaged brake line, hose, or component, it will need to be repaired or replaced. For minor damage, such as a small crack or pinhole, a brake line repair kit may suffice. However, for more significant damage, it’s best to replace the affected component entirely. Brake lines and hoses should be replaced with high-quality parts to ensure durability and safety.
Step 2: Replacing Worn Seals
If the leak is due to worn seals in the brake calipers or wheel cylinders, you may need to rebuild or replace these components. Rebuilding involves replacing the seals and other internal parts, while replacement involves installing new or remanufactured units. Both options require disassembly of the brake components, so it’s essential to have the proper tools and follow the manufacturer’s guidelines.
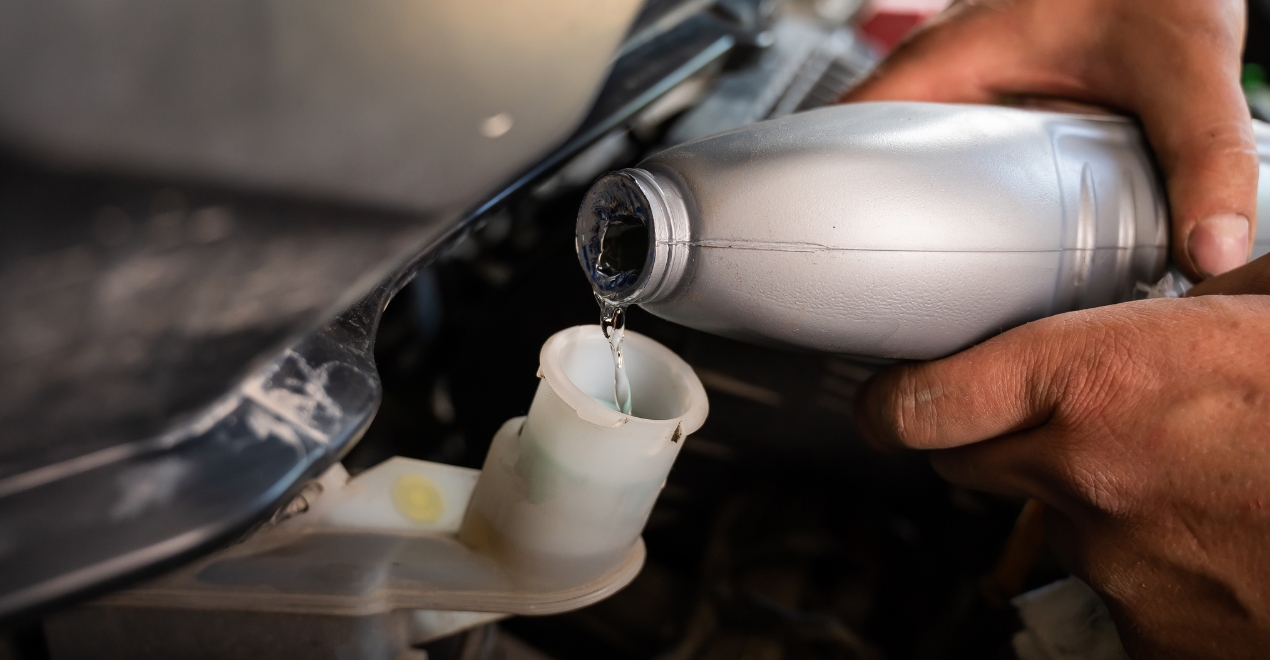
Step 3: Checking and Refilling Brake Fluid
After addressing the leak, check the brake fluid level in the reservoir and refill it as needed. Use the type of brake fluid specified by your vehicle manufacturer, as different types of brake fluid (such as DOT 3, DOT 4, or DOT 5) have different properties and are not interchangeable.
Step 4: Bleeding the Brake System
Air can enter the brake lines when there is a leak, resulting in a spongy brake pedal. After fixing the leak and refilling the brake fluid, you will need to bleed the brake system to remove any trapped air. Bleeding the brakes involves opening the bleeder valves at each wheel and allowing the brake fluid to flow until it is free of air bubbles. This process ensures that the brake fluid can transmit force effectively, restoring proper brake pedal feel and performance.
Step 5: Testing the Brakes
Once you have completed the repairs and bled the brake system, it’s crucial to test the brakes to ensure they are functioning correctly. Start by pressing the brake pedal to check for firmness. Then, perform a test drive in a safe, controlled environment to verify that the brakes respond as expected and there are no unusual noises or sensations.
Preventive Measures and Maintenance
Regular maintenance and inspection of your vehicle’s braking system can help prevent brake fluid leaks and ensure optimal performance. Here are some preventive measures and maintenance tips:
Regular Inspections:
Perform regular visual inspections of the brake fluid reservoir, lines, hoses, calipers, and wheel cylinders. Look for any signs of wear, damage, or leaks. Early detection can prevent minor issues from becoming major problems.
Brake Fluid Replacement:
Brake fluid absorbs moisture over time, which can reduce its effectiveness and lead to corrosion of brake system components. Follow your vehicle manufacturer’s recommendations for brake fluid replacement intervals, typically every two to three years.
Proper Storage of Brake Fluid:
Brake fluid is hygroscopic, meaning it absorbs moisture from the air. Store brake fluid in its original, tightly sealed container to prevent contamination. Use fresh brake fluid when performing maintenance, and avoid using old or opened containers.
Addressing Issues Promptly:
If you notice any signs of a brake fluid leak or other brake system problems, address them promptly. Ignoring issues can lead to more extensive damage and compromise your vehicle’s safety.
Professional Inspections:
While many brake system maintenance tasks can be performed by experienced DIY enthusiasts, it’s a good idea to have your vehicle’s brakes professionally inspected at regular intervals. Professional mechanics have the tools and expertise to identify and address issues that may not be apparent during a visual inspection.
Conclusion
Finding and addressing a brake fluid leak is essential for maintaining the safety and performance of your vehicle’s braking system. By understanding the signs of a leak, inspecting the system thoroughly, and taking appropriate action to repair any damage, you can ensure your brakes function reliably and effectively. Regular maintenance and preventive measures can help keep your braking system in top condition, providing peace of mind and safe driving.
